How do I get all of these things priced for my rummage sale?
Let us help you out by sharing our proven pricing strategies for rummage sales!
It may seem overwhelming at first, but once you adapt some of these methods for pricing, you will find it gets easier and it can even be a fun task!
Our family has hosted many multi-family rummage sales for over 20 years. We happen to live on a very busy street with a high volume of traffic, which is ideal for setting up a rummage sale that is highly visible. During the hours of the busiest traffic, I've counted an average of forty cars going past our house every minute. In a city of around 65,000 residents, it's a perfect location for a yard sale. Actually, the location is probably what's kept us living in this house for this long. And because of so many potential customers driving past daily, most of our friends and family wish to be included in the sales we have. It helps everyone clear out stuff they no longer need, which is the ultimate goal.
As part of our RUMMAGE SALE blog series, today we are sharing our methods for pricing things to get ready for a garage sale. We will give you some great tips, along with detailed explanations of things that have worked well for us!
Only focus on one category, pile, or box of things at once. For example, take one pile of unwanted clothes to an uncluttered part of your home and start with that. Turn on some music or the TV for background noise if it helps you, just don't let it become a distraction from getting your pricing done. You will price that one pile or box of stuff, then set the priced items in a designated area of ready-to-sell things.
You may have a corner in your basement or a section of your garage to use as a temporary storage area as you prepare for your upcoming sale. Priced things should always be taken to this spot once you finish pricing it. This helps reduce the feeling of being overwhelmed by stuff. You WILL be getting rid of it, so it's worth taking these steps of preparation.
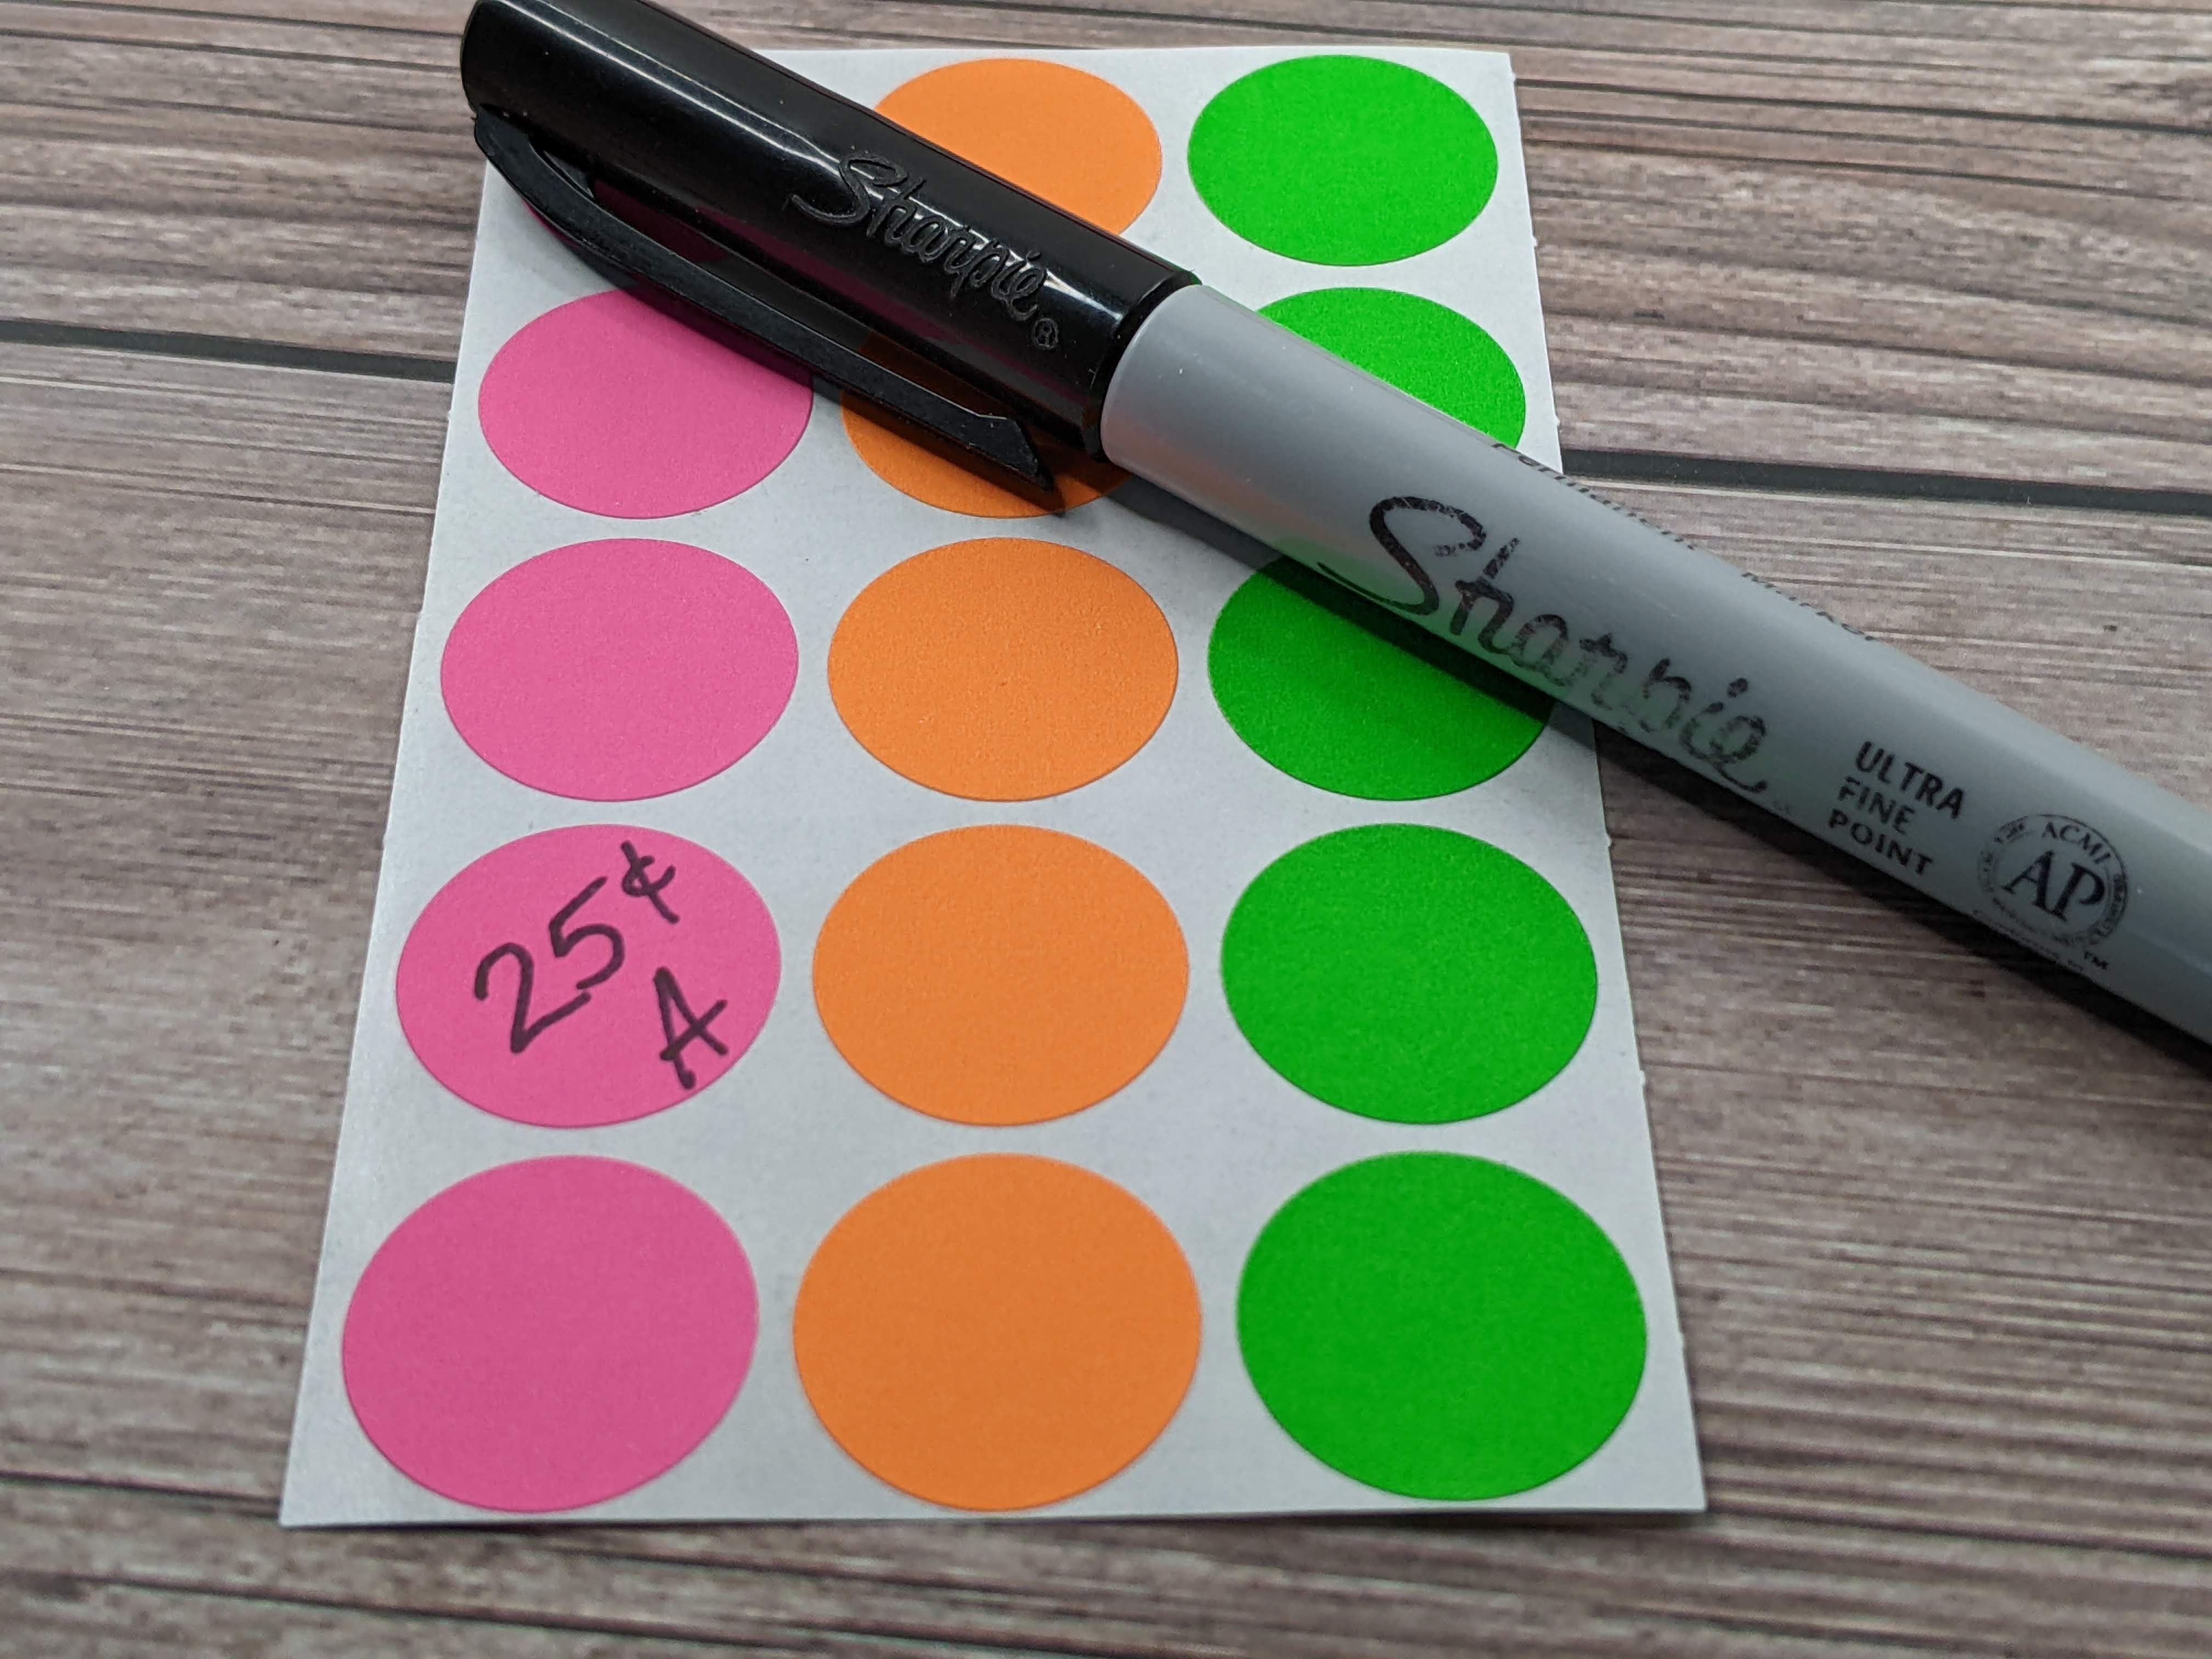
Use pricing stickers, not masking tape. Pricing stickers are easier to remove and are not prone to leaving an adhesive residue on things like masking tape can. You may choose to use the pre-printed pricing stickers, but I've found that I use way more 25c and 50c stickers than are in those packs, plus those often include prices I don't really use much, like 10c or $7.50 - and I don't need so many extras of those. So for me, I prefer to write out my own prices, but you do what works best for you!
If you are having a multi-family rummage sale where other people will also be selling stuff, you will want to assign initials to be used on each person's tags. For example, Anne could write A and Jim could write J. But if Bill Davis and Ben Jones (two B names) are both selling things at your sale, they should label their tags with BD and BJ (respectively). This prevents confusion when collecting this information as items sell.
Have pricing rules established and let everyone who will be contributing to the sale know what you've decided. Here is my explanation for this. You'll want pricing to be pretty consistent among all of the products. If you'll be selling paperback books for 50c and hardcover books for $1, other people selling books at your sale should have similar prices. If they don't, people will be trying to get you to reduce a $2 book because others are $1 just like it. Honestly, these questions from customers can get annoying.
Prices should be firm (as marked), especially for the first day(s) of your sale. Give your things a chance to sell at what you think they should. People might ask for a deal, and you CAN say no, not on our first day of the sale. Some people will think you'll give them an item priced at $10 for $1. And you just opened. There's a good chance that the item will still sell for $10. So, saying no doesn't mean you won't be able to sell it. Some people will hear the NO and still buy it, but for what you had it fairly priced for. Or, if they set down the item because you didn't make a deal with them, it's OKAY! So many times, someone else grabs the item to buy at your marked price as soon as the person sets it back down. This happens a lot, so you don't have to give-in to people rudely thinking they are deserving of getting something of value for hardly anything. It's your sale, so you are in charge of the rules and the prices.
Figure out your magic number. This is the term I use to describe a common price I put on many of my things. For me, $3 is my magic number. Almost anything will sell for me at $3. It may be different in your region, so just think about what price seems to attract you to make a purchase when you stop at a garage sale. I have always done really well with selling anything with a $3 price sticker on it. Clothing, household items, bags of miscellaneous things - $3 is the price that people seem to love paying for things around here. So, my standard price is $3 for anything. If it seems less valuable, it will usually get a $1, 50c or 25c tag depending on what I feel is fair. Anything that clearly has a greater value than $3 (like furniture) will be priced to sell accordingly, at a higher price. Compare your pricing to other sales in your area to make sure you are on the right track. I tend to price slightly lower than a thrift store, since I want it to sell at my sale. You could also see what range of prices other people are asking when they offer items for sale on your local area's marketplace listings.
Make pricing easier by selling things in 25c increments or in dollars. I never price things at 10c or 5c. It's so much easier to only deal with dollars and quarters. Trust me on this. Make it easy for yourself.
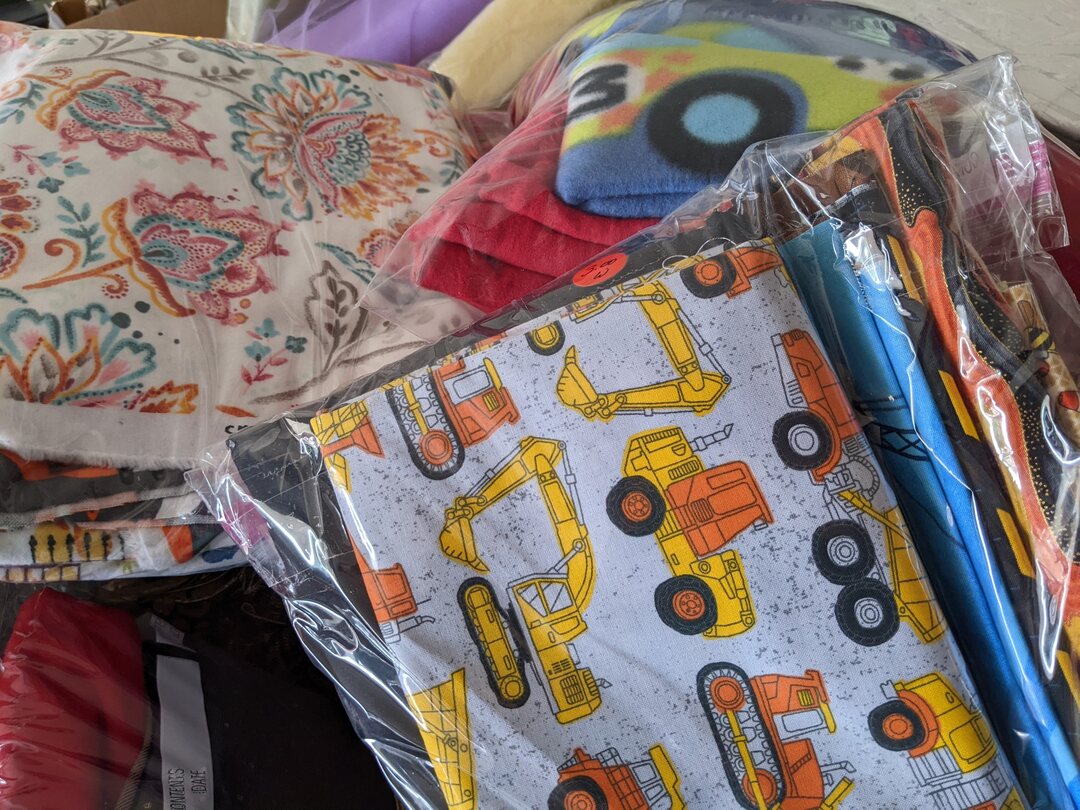
If you have a lot of small things that are similar (like things from your junk drawer, or desk drawer), consider making grab bags. We have always done super well with selling grab bags. I take zip-baggies and fill them with similar things (like sewing notions being grouped together in a bag) and then price the whole bag. Almost all of my grab bags are priced at $3. I use packaging tape to secure the bag-closure after I zip it closed. Also, I have my price sticker covered by the packaging tape. My reasoning for adding packaging tape of the tag is so the tag cannot be easily tampered with, and prices cannot be easily switched (by customers). Plus, by taping each grab bag closed, you prevent people from opening the bags, taking things out, dropping things, switching things, or anything else that people sometimes rudely do. Simply put, eliminate customer issues by with preventative measures, such as tape!
I also tape my rummage tags to clothing tags. I was getting tired of people being able to easily switch tags, so I do my best to prevent tampering. On jeans, I place packaging tape over the rummage tag and wrap it around a belt loop. On shirts I tape my price sticker onto the brand tag. I also include sizes on the tag, along with my initial. If it is a medium sized shirt, I will write Medium $3 A on the tag. If it is a more expensive brand, I will also include the brand on the tag, so I can easily see if it has been switched. You are able to refuse the sale if you can tell the price tag was switched. (To be clear, there will be so many more awesome customers than sketchy ones, so don't worry too much about it.)
If you are selling electronics, have an extra outlet available so people can test things out. Also have extra batteries available to test things. As far as pricing these items, write WORKS on the tag if it does work. Write AS-IS if there is an issue with it. But do not put things for sale that are unusable or should be trash.
If you have a whole box of similar things you want to sell individually, you may just label the box with a sign - All toy cars are 50 cents each. But if someone else will also be selling the same type of item at your sale, just price them individually with the appropriate initials. Then you can easily tell who gets the money when the items sell. The other option is to make grab bags that are priced with your initials.
If you decide to color code your price stickers (instead of writing initials), do that if it works best for you. You could assign a color to each person participating, but still have the prices written out. Color coding is not my preference, but it may be yours.
I've also been to some sales where there's a sign to interpret tag colors. A blue tag might be on 50c items, a red tag on $1 items, a yellow tag on $5 items, etc. But from my experience, customers prefer not having to check charts. They'd much rather have items clearly marked.
Also, please do price everything. If I ever go to a sale where nothing is marked, and they expect me to ask about prices... I'm not going to do it. Introverts in general will just leave because they don't want to feel pressured to buy things they'd have to ask about for price information. So please be aware that you are more likely to lose potential sales if you don't already have things priced for your sale. It's just not a good idea to skip over the pricing aspect of having a rummage sale, in my opinion.
We hope those tips are helpful. We will have additional posts about rummage sales in the near future, so check back with us again soon!
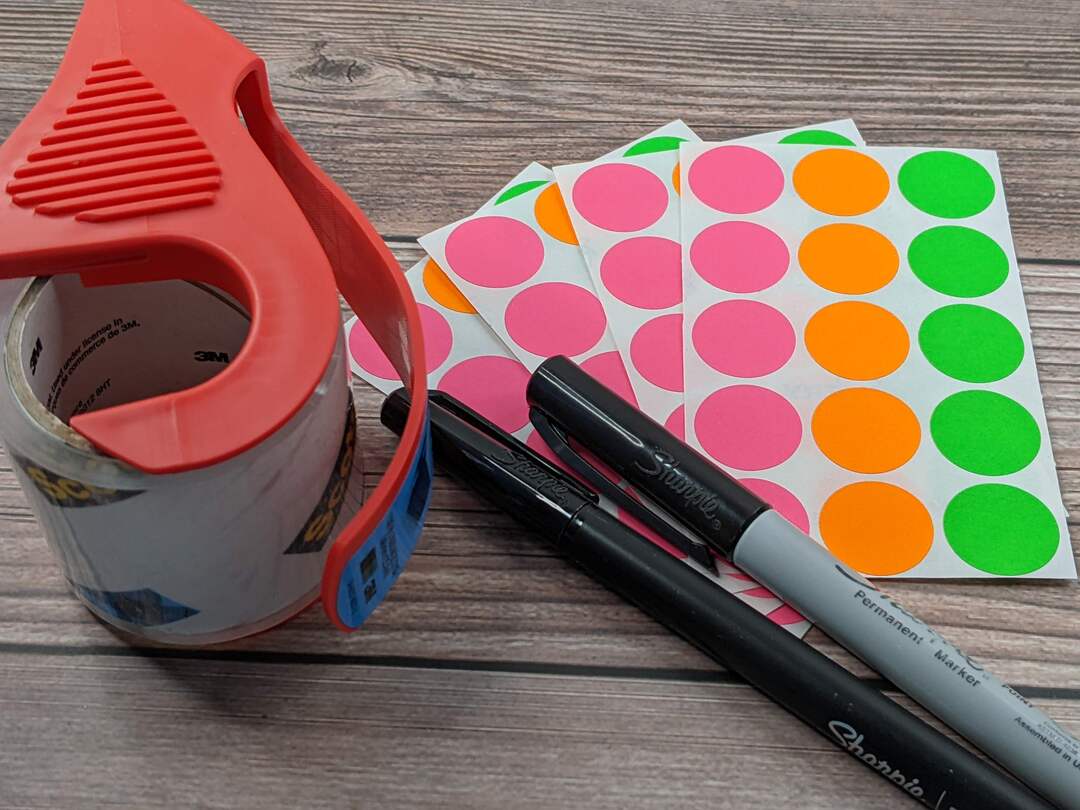
Use a fine-point marker with your rummage tags. Add tape to secure prices as necessary.


Include your initials on your pricing stickers. This helps keep track of who is selling it.
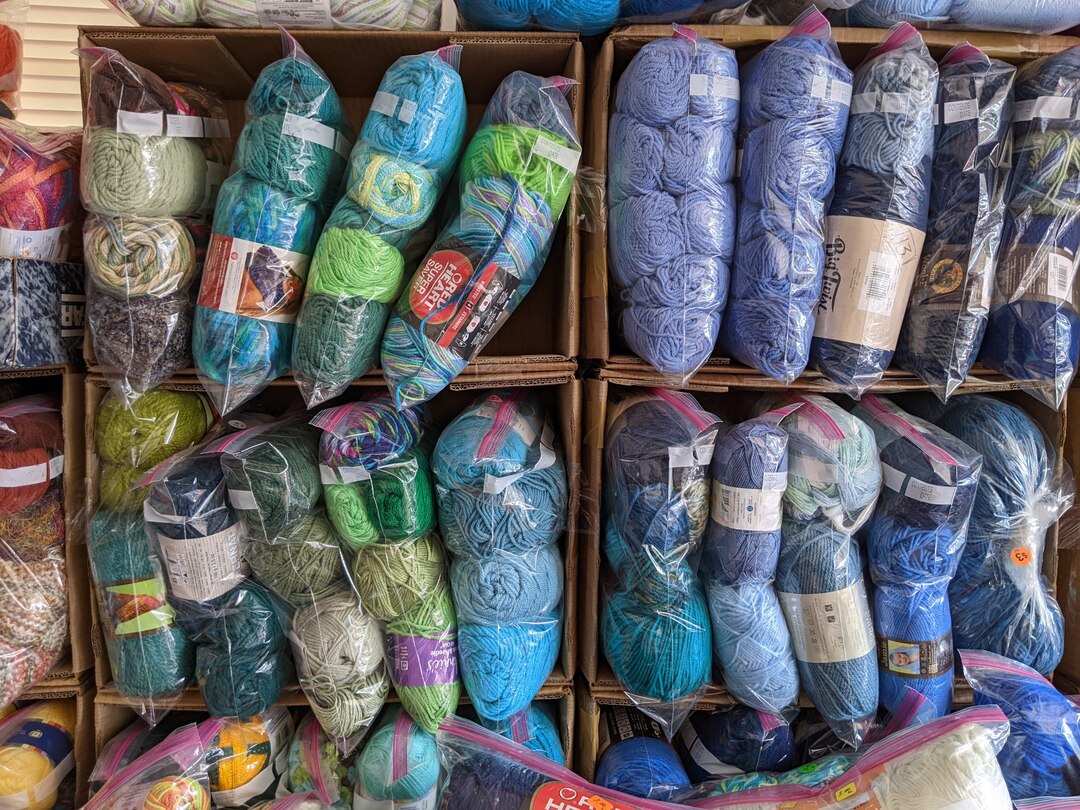
Make grab bags of similar items to sell. Grab bags are a big hit at rummage sales!

Grab bags are fun for customers at a rummage sale. There is an element of mystery to it!